Oracle Cloud OCI Identity and Access Management(IAM) Security
This blog refers to the Oracle Cloud Infrastructure (OCI) console to implement users, groups, policies, and other components basic security needs. For large organizations or data center Oracle suggests that the security be addressed and maintained by a Security Analyst or Solutions Architect role. As you will soon see as you explore OCI that there are many ways to add and manage components. See Documentation to Use for Cloud Identity for detailed information from Oracle.
Order of Component Creation
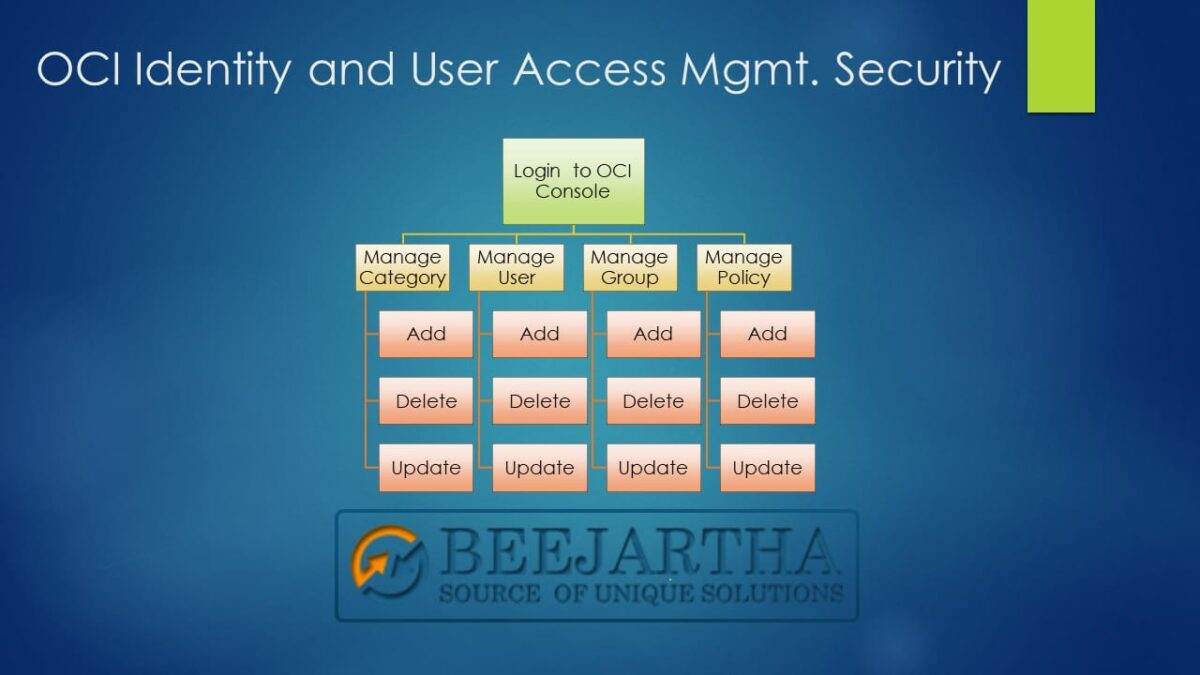
Compartments, users, groups, and policies can be created in a variety of orders. However, the security components do depend on each other. For instance, all users, groups, and policies must be created in a compartment. Therefore, if the compartment does not exist then it must be created. When you create other components, you must select a compartment. Do this by clicking on compartment dropdown located mid-way down on the left side of the page and then clicking the compartment name from the list. Once the compartment exists, then a group needs to be created, unless it already exists. Policies are dependent on a compartment and a group. Once the group exists, then a new policy may need to be created, unless it already exists and attach the policy to corresponding group. Lastly, a user is dependent on a compartment and must be assigned to a group with an attached policy.
Oracle Cloud (OCI) Login
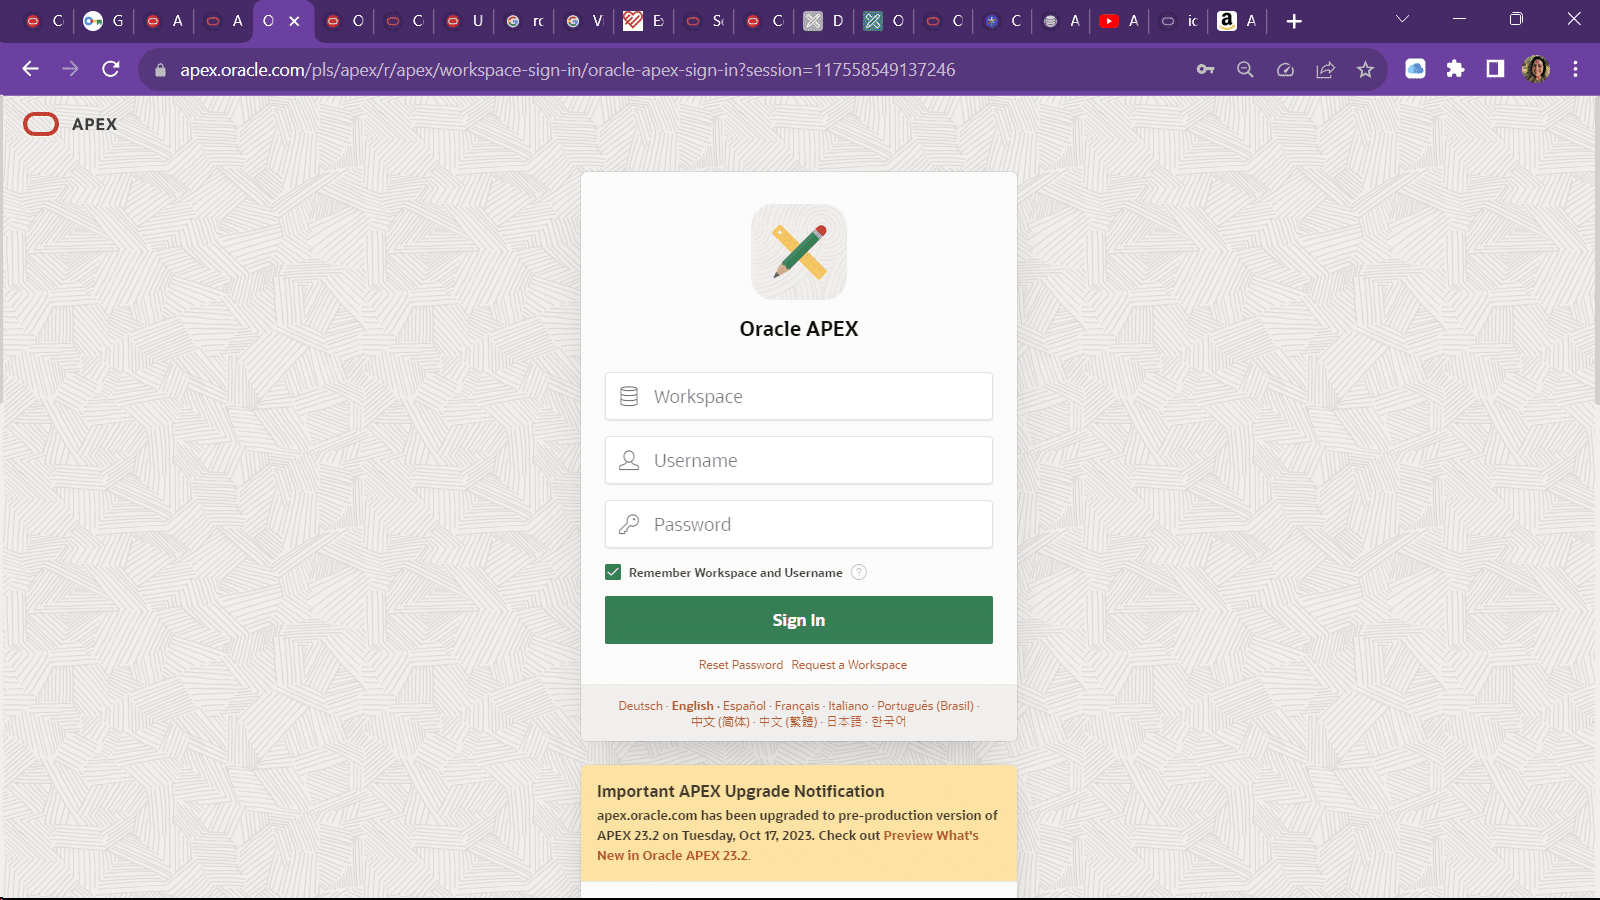
Login to the Oracle Cloud Infrastructure OCI web console using your credentials at https://www.oracle.com/cloud/sign-in.html
If you do not know the account name, please contact the organization’s OCI administrator.
Create Multifactor Authentication.
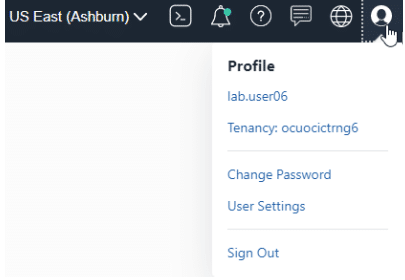
- Click your Profile on the top right of the page.
- Select your Username. Or Alternately
- Click User settings link.
- Click Enable Multi-Factor Authorization from the user page.
- Follow the instructions from the pop-up.
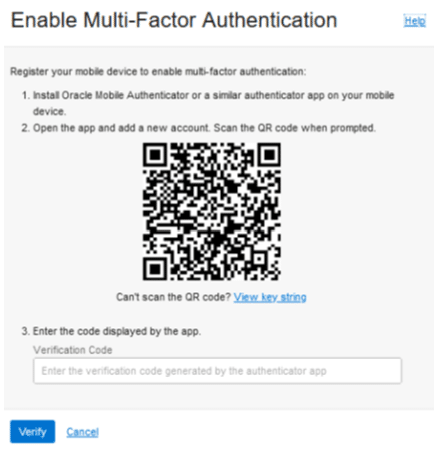
When the user signs in they will be prompted for a passcode before logging in.
Create, List or Manage Compartment
- All users, groups and policies and components are created in compartments. Compartments can have sub-compartments and can be moved and reorganized. Please make sure you are creating the components in the correct compartment. Please be aware that a root tenancy compartment is created and should be used to create OCI users, such as OCI Administrator and Security Analyst or Solutions Architect role using the default root tenancy compartment which already exists.
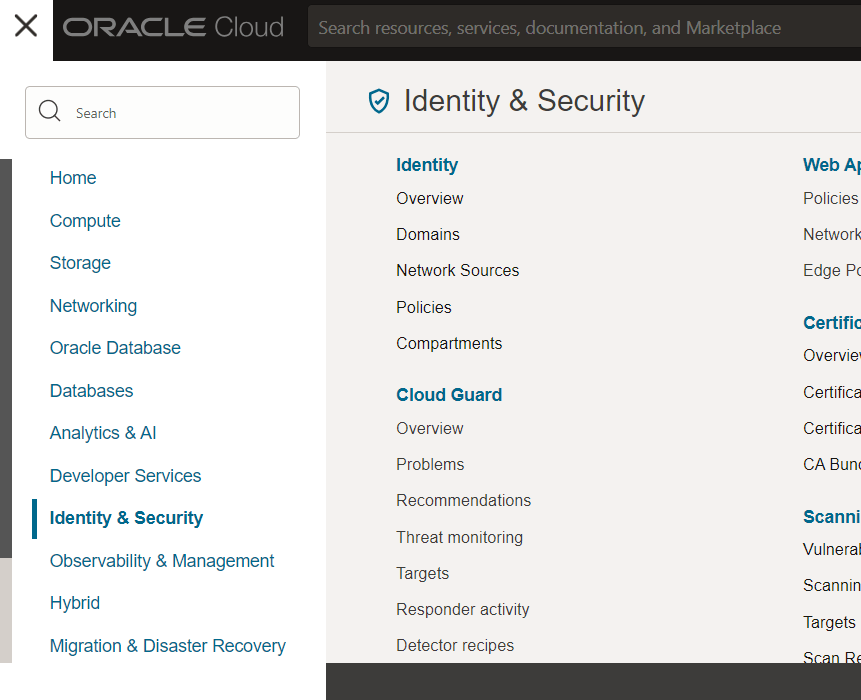
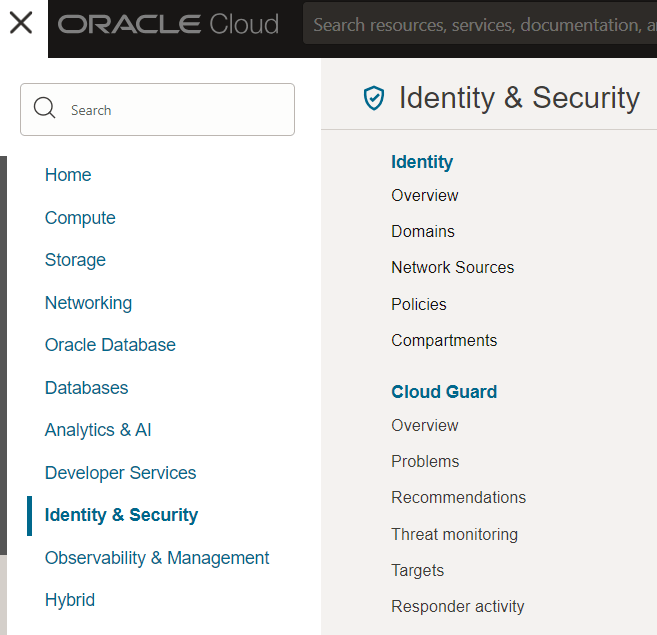
- Click the OCI menu located on the top left corner of the page.
- Click Identity & Security -> Compartments under the Identity section (you can select from the list to manage a compartment (including the root default tenancy) or create a new compartment). Please make sure you are in the correct compartment.
- Click the Create Compartment button.
- Type name
- Type description
- Select group compartment from the dropdown list (if creating a child compartment).
- Click Create.
Create, List or Manage User
Please make sure you are in the correct compartment.
- Click the OCI menu located on the top left corner of the page.
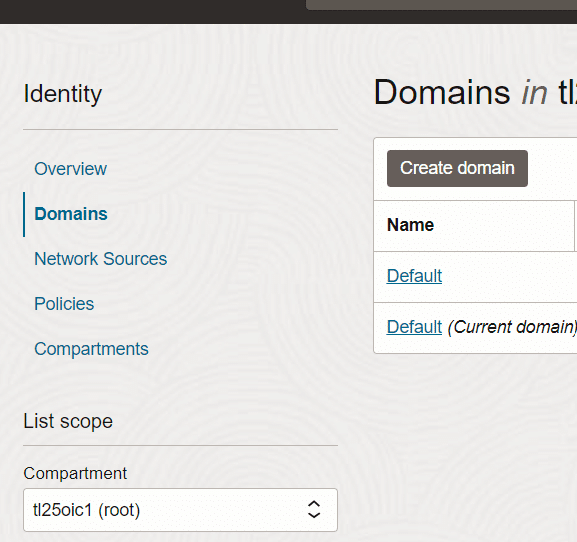
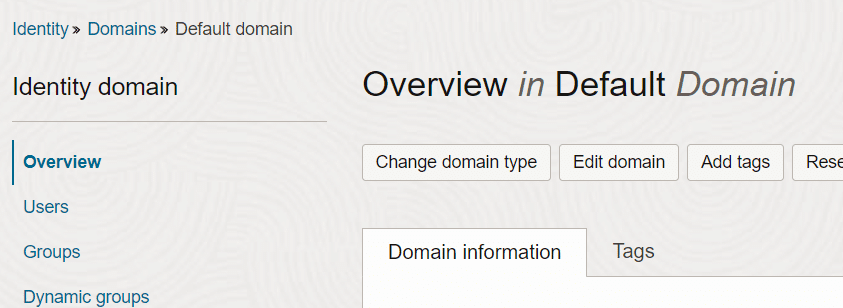
- Click Identity & Security -> Domains under the Identity section –> Click Default or current domain list box
- Click the Create User button.
- Type user’s First Name and Last Name
- o Select the check box Use the email address as the username to have the user sign in with their email address. Unselect the check box Use the email address as the username to have the user sign in with username and then type in the username.
- The following characters are allowed:
- a-z
- A-Z
- 0-9
- Special characters ! @ # $ % ^ & * ( ) _ + = – { } [ ] | \ : ” ‘ ; < > ? / . ,
- Blank spaces
- Under Select groups to assign this user to, select the check box for groups.
- Click Create.
A welcome email is sent to the address you entered for the new user. The new user can follow the account activation instructions in the email to sign in and start using the tenancy.
Reset Password
- Click the OCI menu located on the top left corner of the page.
- Click Identity & Security -> Domains under the Identity section –> Click Default or current domain list box
- Select the Username link from the list.
- Click Create/Reset Password button.
- Click again Create/Reset Password button. This will create a new one-time password.
- Click the Copy link for the auto-generated password from the pop-up.
When the user logs in they will be prompted to change the password. The new password must meet the password requirements.
Create, List or Manage Group
Please make sure you are in the correct compartment.
- Click the OCI menu located on the top left corner of the page.
- Click Identity & Security -> Domains under the Identity section –> Click Default or current domain list box
- Click the Create Group button.
- Type Name (can’t be modified after it has been created. It is used in the policy syntax).
- Type Description.
- Click the Create button.
Create, List or Manage Policy
- Click the OCI menu located on the top left corner of the page.
- Click Identity & Security -> Policies under the Identity section (you can select from the list to manage/view an existing policy or create a new policy). Please make sure you are in the correct compartment.
- Click the Create Policy button. There is a default Policy Builder with predefined templets or click customize (Advanced) if you already have the policy.
- Type policy statements in the text box (if you selected customize).
- Click the Create button.
See Common Organization Policies for details about specific policies.
The location is required in the statement. If you want to attach a policy to a compartment, you must be in that compartment when you create the policy. For more information, see Policy Attachment.
Permission Level
The permission level is specified by the verb in the statement. To give another user access to interact with your environments in the Oracle Cloud Console, use one of the following verbs in your policy statements:
- manage – allows the user to perform all management tasks for an environment, including create and delete (when supported).
- use – allows the user to update an existing environment; user can’t create or delete an environment.
- read – allows the user to view all information about the environment.
- inspect – allows the user to list the environments only; user can’t view the details pages.
For more information on the operations permitted by each of these verbs, see Policy Syntax.
OCI tenancy Read-only Policy
Allow group to read app-listing-environments in tenancy
Allow group to read organizations-subscriptions in tenancy
Allow group to read organizations-assigned-subscriptions in tenancy
Policy Inheritance
See Policies and Compartment Hierarchies. To view information about specifying a compartment that is not a direct child of the compartment you are attaching the policy. To specify the path to the sub-compartment, use the colon (:) as a separator.
Examples
Add an Administrator
Please make sure you are in the root tenancy compartment
The Administrator group already exist.
Create or manage a user and select the new group.
Add a Read-Only tenancy User
Please make sure you are in the root tenancy compartment
Create a new group. Name the group GRP_Read_Tenancy
Create a new policy and attach it to the group as below:
- Allow group GRP_Read_Tenancy to read app-listing-environments in tenancy
- Allow group GRP_Read_Tenancy to read organizations-subscriptions in tenancy
- Allow group GRP_Read_Tenancy to read organizations-assigned-subscriptions in tenancy
Create or manage a user and select the new group.